

CATextLayer
用户界面是无法从一个单独的图片里面构建的。一个设计良好的图标能够很好地表现一个按钮或控件的意图,不过你迟早都要需要一个不错的老式风格的文本标签。
如果你想在一个图层里面显示文字,完全可以借助图层代理直接将字符串使用Core Graphics写入图层的内容(这就是UILabel的精髓)。如果越过寄宿于图层的视图,直接在图层上操作,那其实相当繁琐。你要为每一个显示文字的图层创建一个能像图层代理一样工作的类,还要逻辑上判断哪个图层需要显示哪个字符串,更别提还要记录不同的字体,颜色等一系列乱七八糟的东西。
万幸的是这些都是不必要的,Core Animation提供了一个CALayer的子类CATextLayer,它以图层的形式包含了UILabel几乎所有的绘制特性,并且额外提供了一些新的特性。
同样,CATextLayer也要比UILabel渲染得快得多。很少有人知道在iOS 6及之前的版本,UILabel其实是通过WebKit来实现绘制的,这样就造成了当有很多文字的时候就会有极大的性能压力。而CATextLayer使用了Core text,并且渲染得非常快。
让我们来尝试用CATextLayer来显示一些文字。清单6.2的代码实现了这一功能,结果如图6.2所示。
清单6.2 用CATextLayer来实现一个UILabel
@interface ViewController ()

@property (nonatomic, weak) IBOutlet UIView *labelView;

@end

@implementation ViewController
- (void)viewDidLoad
{
  [super viewDidLoad];

  //create a text layer
  CATextLayer *textLayer = [CATextLayer layer];
  textLayer.frame = self.labelView.bounds;
  [self.labelView.layer addSublayer:textLayer];

  //set text attributes
  textLayer.foregroundColor = [UIColor blackColor].CGColor;
  textLayer.alignmentMode = kCAAlignmentJustified;
  textLayer.wrapped = YES;

  //choose a font
  UIFont *font = [UIFont systemFontOfSize:15];

  //set layer font
  CFStringRef fontName = (__bridge CFStringRef)font.fontName;
  CGFontRef fontRef = CGFontCreateWithFontName(fontName);
  textLayer.font = fontRef;
  textLayer.fontSize = font.pointSize;
  CGFontRelease(fontRef);

  //choose some text
  NSString *text = @"Lorem ipsum dolor sit amet, consectetur adipiscing  elit. Quisque massa arcu, eleifend vel varius in, facilisis pulvinar  leo. Nunc quis nunc at mauris pharetra condimentum ut ac neque. Nunc elementum, libero ut porttitor dictum, diam odio congue lacus, vel  fringilla sapien diam at purus. Etiam suscipit pretium nunc sit amet  lobortis";

  //set layer text
  textLayer.string = text;
}
@end
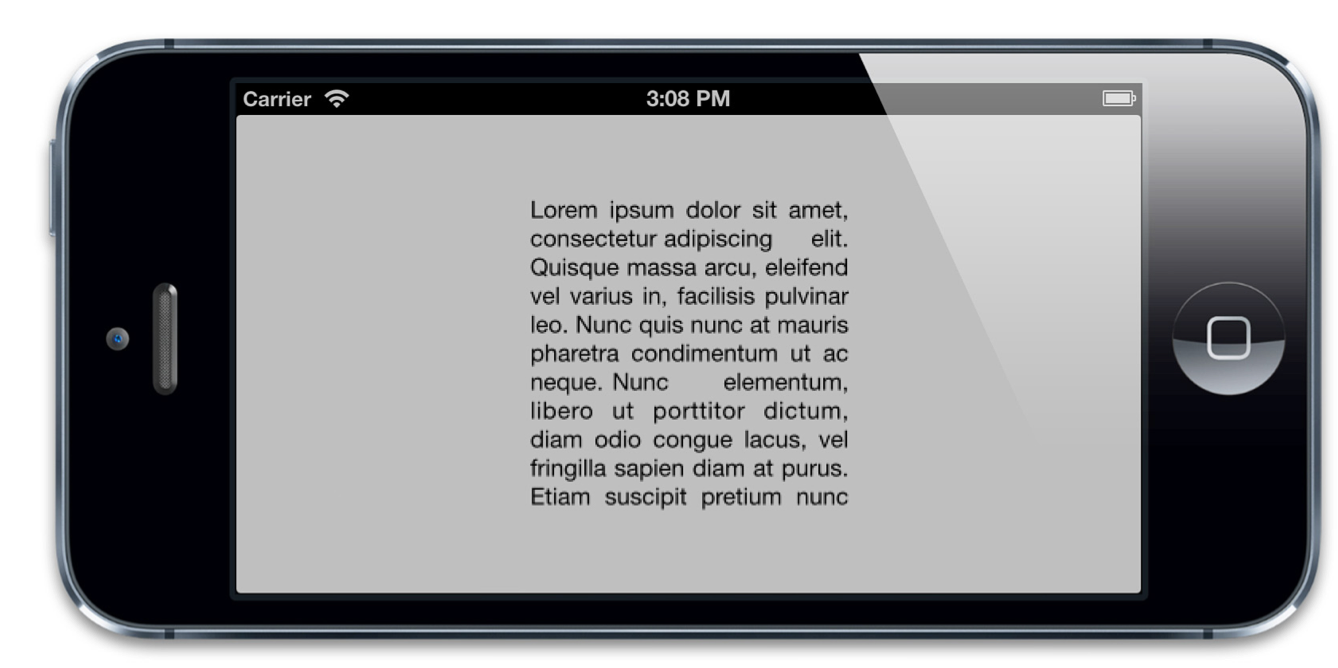
图6.2 用CATextLayer来显示一个纯文本标签
如果你仔细看这个文本,你会发现一个奇怪的地方:这些文本有一些像素化了。这是因为并没有以Retina的方式渲染,第二章提到了这个contentScale属性,用来决定图层内容应该以怎样的分辨率来渲染。contentsScale并不关心屏幕的拉伸因素而总是默认为1.0。如果我们想以Retina的质量来显示文字,我们就得手动地设置CATextLayer的contentsScale属性,如下:
textLayer.contentsScale = [UIScreen mainScreen].scale;
这样就解决了这个问题(如图6.3)
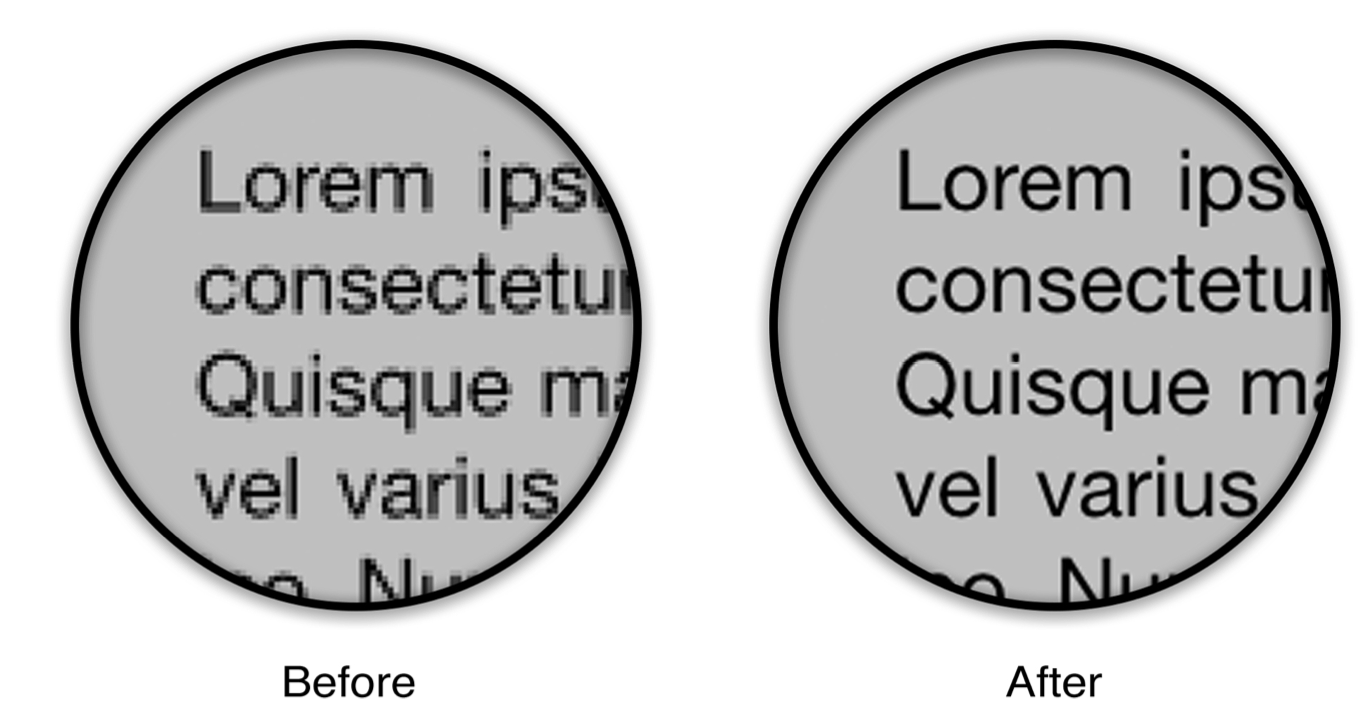
图6.3 设置contentsScale来匹配屏幕
CATextLayer的font属性不是一个UIFont类型,而是一个CFTypeRef类型。这样可以根据你的具体需要来决定字体属性应该是用CGFontRef类型还是CTFontRef类型(Core Text字体)。同时字体大小也是用fontSize属性单独设置的,因为CTFontRef和CGFontRef并不像UIFont一样包含点大小。这个例子会告诉你如何将UIFont转换成CGFontRef。
另外,CATextLayer的string属性并不是你想象的NSString类型,而是id类型。这样你既可以用NSString也可以用NSAttributedString来指定文本了(注意,NSAttributedString并不是NSString的子类)。属性化字符串是iOS用来渲染字体风格的机制,它以特定的方式来决定指定范围内的字符串的原始信息,比如字体,颜色,字重,斜体等。
富文本
iOS 6中,Apple给UILabel和其他UIKit文本视图添加了直接的属性化字符串的支持,应该说这是一个很方便的特性。不过事实上从iOS3.2开始CATextLayer就已经支持属性化字符串了。这样的话,如果你想要支持更低版本的iOS系统,CATextLayer无疑是你向界面中增加富文本的好办法,而且也不用去跟复杂的Core Text打交道,也省了用UIWebView的麻烦。
让我们编辑一下示例使用到NSAttributedString(见清单6.3).iOS 6及以上我们可以用新的NSTextAttributeName实例来设置我们的字符串属性,但是练习的目的是为了演示在iOS 5及以下,所以我们用了Core Text,也就是说你需要把Core Text framework添加到你的项目中。否则,编译器是无法识别属性常量的。
图6.4是代码运行结果(注意那个红色的下划线文本)
清单6.3 用NSAttributedString实现一个富文本标签。
#import "DrawingView.h"
#import
#import

@interface ViewController ()

@property (nonatomic, weak) IBOutlet UIView *labelView;

@end

@implementation ViewController

- (void)viewDidLoad
{
  [super viewDidLoad];

  //create a text layer
  CATextLayer *textLayer = [CATextLayer layer];
  textLayer.frame = self.labelView.bounds;
  textLayer.contentsScale = [UIScreen mainScreen].scale;
  [self.labelView.layer addSublayer:textLayer];

  //set text attributes
  textLayer.alignmentMode = kCAAlignmentJustified;
  textLayer.wrapped = YES;

  //choose a font
  UIFont *font = [UIFont systemFontOfSize:15];

  //choose some text
  NSString *text = @"Lorem ipsum dolor sit amet, consectetur adipiscing  elit. Quisque massa arcu, eleifend vel varius in, facilisis pulvinar  leo. Nunc quis nunc at mauris pharetra condimentum ut ac neque. Nunc  elementum, libero ut porttitor dictum, diam odio congue lacus, vel  fringilla sapien diam at purus. Etiam suscipit pretium nunc sit amet  lobortis";

  //create attributed string
  NSMutableAttributedString *string = nil;
  string = [[NSMutableAttributedString alloc] initWithString:text];

  //convert UIFont to a CTFont
  CFStringRef fontName = (__bridge CFStringRef)font.fontName;
  CGFloat fontSize = font.pointSize;
  CTFontRef fontRef = CTFontCreateWithName(fontName, fontSize, NULL);

  //set text attributes
  NSDictionary *attribs = @{
    (__bridge id)kCTForegroundColorAttributeName:(__bridge id)[UIColor blackColor].CGColor,
    (__bridge id)kCTFontAttributeName: (__bridge id)fontRef
  };

  [string setAttributes:attribs range:NSMakeRange(0, [text length])];
  attribs = @{
    (__bridge id)kCTForegroundColorAttributeName: (__bridge id)[UIColor redColor].CGColor,
    (__bridge id)kCTUnderlineStyleAttributeName: @(kCTUnderlineStyleSingle),
    (__bridge id)kCTFontAttributeName: (__bridge id)fontRef
  };
  [string setAttributes:attribs range:NSMakeRange(6, 5)];

  //release the CTFont we created earlier
  CFRelease(fontRef);

  //set layer text
  textLayer.string = string;
}
@end
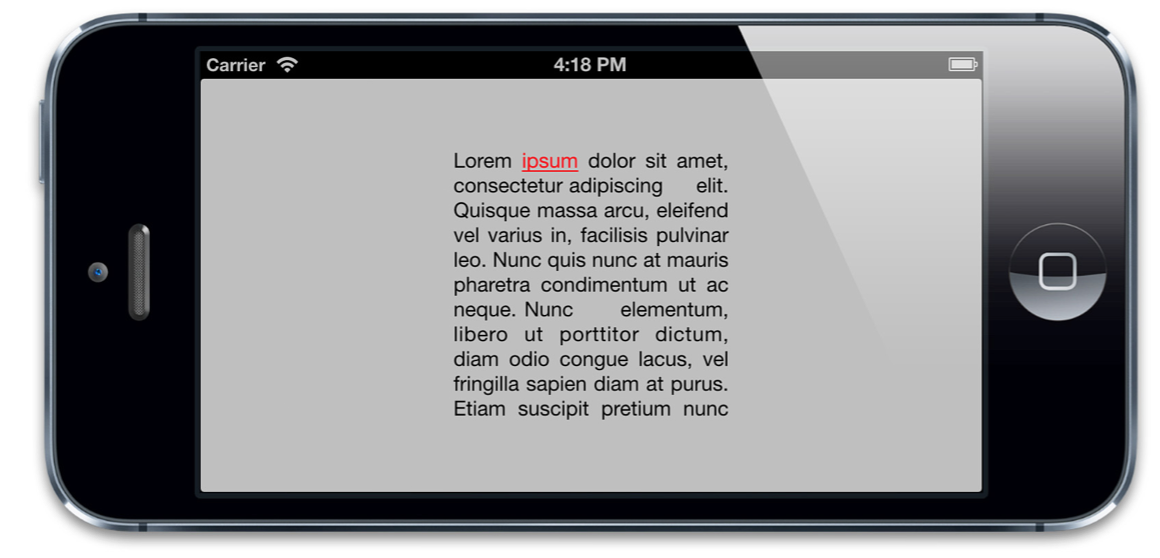
图6.4 用CATextLayer实现一个富文本标签。
行距和字距
有必要提一下的是,由于绘制的实现机制不同(Core Text和WebKit),用CATextLayer渲染和用UILabel渲染出的文本行距和字距也不是不尽相同的。
二者的差异程度(由使用的字体和字符决定)总的来说挺小,但是如果你想正确的显示普通便签和CATextLayer就一定要记住这一点。
UILabel的替代品
我们已经证实了CATextLayer比UILabel有着更好的性能表现,同时还有额外的布局选项并且在iOS 5上支持富文本。但是与一般的标签比较而言会更加繁琐一些。如果我们真的在需求一个UILabel的可用替代品,最好是能够在Interface Builder上创建我们的标签,而且尽可能地像一般的视图一样正常工作。
我们应该继承UILabel,然后添加一个子图层CATextLayer并重写显示文本的方法。但是仍然会有由UILabel的-drawRect:方法创建的空寄宿图。而且由于CALayer不支持自动缩放和自动布局,子视图并不是主动跟踪视图边界的大小,所以每次视图大小被更改,我们不得不手动更新子图层的边界。
我们真正想要的是一个用CATextLayer作为宿主图层的UILabel子类,这样就可以随着视图自动调整大小而且也没有冗余的寄宿图啦。
就像我们在第一章『图层树』讨论的一样,每一个UIView都是寄宿在一个CALayer的示例上。这个图层是由视图自动创建和管理的,那我们可以用别的图层类型替代它么?一旦被创建,我们就无法代替这个图层了。但是如果我们继承了UIView,那我们就可以重写+layerClass方法使得在创建的时候能返回一个不同的图层子类。UIView会在初始化的时候调用+layerClass方法,然后用它的返回类型来创建宿主图层。
清单6.4 演示了一个UILabel子类LayerLabel用CATextLayer绘制它的问题,而不是调用一般的UILabel使用的较慢的-drawRect:方法。LayerLabel示例既可以用代码实现,也可以在Interface Builder实现,只要把普通的标签拖入视图之中,然后设置它的类是LayerLabel就可以了。
清单6.4 使用CATextLayer的UILabel子类:LayerLabel
#import "LayerLabel.h"
#import

@implementation LayerLabel
+ (Class)layerClass
{
  //this makes our label create a CATextLayer //instead of a regular CALayer for its backing layer
  return [CATextLayer class];
}

- (CATextLayer *)textLayer
{
  return (CATextLayer *)self.layer;
}

- (void)setUp
{
  //set defaults from UILabel settings
  self.text = self.text;
  self.textColor = self.textColor;
  self.font = self.font;

  //we should really derive these from the UILabel settings too
  //but that"s complicated, so for now we"ll just hard-code them
  [self textLayer].alignmentMode = kCAAlignmentJustified;

  [self textLayer].wrapped = YES;
  [self.layer display];
}

- (id)initWithFrame:(CGRect)frame
{
  //called when creating label programmatically
  if (self = [super initWithFrame:frame]) {
    [self setUp];
  }
  return self;
}

- (void)awakeFromNib
{
  //called when creating label using Interface Builder
  [self setUp];
}

- (void)setText:(NSString *)text
{
  super.text = text;
  //set layer text
  [self textLayer].string = text;
}

- (void)setTextColor:(UIColor *)textColor
{
  super.textColor = textColor;
  //set layer text color
  [self textLayer].foregroundColor = textColor.CGColor;
}

- (void)setFont:(UIFont *)font
{
  super.font = font;
  //set layer font
  CFStringRef fontName = (__bridge CFStringRef)font.fontName;
  CGFontRef fontRef = CGFontCreateWithFontName(fontName);
  [self textLayer].font = fontRef;
  [self textLayer].fontSize = font.pointSize;

  CGFontRelease(fontRef);
}
@end
如果你运行代码,你会发现文本并没有像素化,而我们也没有设置contentsScale属性。把CATextLayer作为宿主图层的另一好处就是视图自动设置了contentsScale属性。
在这个简单的例子中,我们只是实现了UILabel的一部分风格和布局属性,不过稍微再改进一下我们就可以创建一个支持UILabel所有功能甚至更多功能的LayerLabel类(你可以在一些线上的开源项目中找到)。
如果你打算支持iOS 6及以上,基于CATextLayer的标签可能就有有些局限性。但是总得来说,如果想在app里面充分利用CALayer子类,用+layerClass来创建基于不同图层的视图是一个简单可复用的方法。