

CATiledLayer
有些时候你可能需要绘制一个很大的图片,常见的例子就是一个高像素的照片或者是地球表面的详细地图。iOS应用通畅运行在内存受限的设备上,所以读取整个图片到内存中是不明智的。载入大图可能会相当地慢,那些对你看上去比较方便的做法(在主线程调用UIImage的-imageNamed:方法或者-imageWithContentsOfFile:方法)将会阻塞你的用户界面,至少会引起动画卡顿现象。
能高效绘制在iOS上的图片也有一个大小限制。所有显示在屏幕上的图片最终都会被转化为OpenGL纹理,同时OpenGL有一个最大的纹理尺寸(通常是20482048,或40964096,这个取决于设备型号)。如果你想在单个纹理中显示一个比这大的图,即便图片已经存在于内存中了,你仍然会遇到很大的性能问题,因为Core Animation强制用CPU处理图片而不是更快的GPU(见第12章『速度的曲调』,和第13章『高效绘图』,它更加详细地解释了软件绘制和硬件绘制)。
CATiledLayer为载入大图造成的性能问题提供了一个解决方案:将大图分解成小片然后将他们单独按需载入。让我们用实验来证明一下。
小片裁剪
这个示例中,我们将会从一个2048*2048分辨率的雪人图片入手。为了能够从CATiledLayer中获益,我们需要把这个图片裁切成许多小一些的图片。你可以通过代码来完成这件事情,但是如果你在运行时读入整个图片并裁切,那CATiledLayer这些所有的性能优点就损失殆尽了。理想情况下来说,最好能够逐个步骤来实现。
清单6.11 演示了一个简单的Mac OS命令行程序,它用CATiledLayer将一个图片裁剪成小图并存储到不同的文件中。
清单6.11 裁剪图片成小图的终端程序
#import

int main(int argc, const char * argv[])
{
    @autoreleasepool{
        //handle incorrect arguments
        if (argc < 2) {
            NSLog(@"TileCutter arguments: inputfile");
            return 0;
        }

        //input file
        NSString *inputFile = [NSString stringWithCString:argv[1] encoding:NSUTF8StringEncoding];

        //tile size
        CGFloat tileSize = 256; //output path
        NSString *outputPath = [inputFile stringByDeletingPathExtension];

        //load image
        NSImage *image = [[NSImage alloc] initWithContentsOfFile:inputFile];
        NSSize size = [image size];
        NSArray *representations = [image representations];
        if ([representations count]){
            NSBitmapImageRep *representation = representations[0];
            size.width = [representation pixelsWide];
            size.height = [representation pixelsHigh];
        }
        NSRect rect = NSMakeRect(0.0, 0.0, size.width, size.height);
        CGImageRef imageRef = [image CGImageForProposedRect:&rect context:NULL hints:nil];

        //calculate rows and columns
        NSInteger rows = ceil(size.height / tileSize);
        NSInteger cols = ceil(size.width / tileSize);

        //generate tiles
        for (int y = 0; y < rows; ++y) {
            for (int x = 0; x < cols; ++x) {
            //extract tile image
            CGRect tileRect = CGRectMake(x*tileSize, y*tileSize, tileSize, tileSize);
            CGImageRef tileImage = CGImageCreateWithImageInRect(imageRef, tileRect);

            //convert to jpeg data
            NSBitmapImageRep *imageRep = [[NSBitmapImageRep alloc] initWithCGImage:tileImage];
            NSData *data = [imageRep representationUsingType: NSJPEGFileType properties:nil];
            CGImageRelease(tileImage);

            //save file
            NSString *path = [outputPath stringByAppendingFormat: @"_%02i_%02i.jpg", x, y];
            [data writeToFile:path atomically:NO];
            }
        }
    }
    return 0;
}
这个程序将20482048分辨率的雪人图案裁剪成了64个不同的256256的小图。(256*256是CATiledLayer的默认小图大小,默认大小可以通过tileSize属性更改)。程序接受一个图片路径作为命令行的第一个参数。我们可以在编译的scheme将路径参数硬编码然后就可以在Xcode中运行了,但是以后作用在另一个图片上就不方便了。所以,我们编译了这个程序并把它保存到敏感的地方,然后从终端调用,如下面所示:
> path/to/TileCutterApp path/to/Snowman.jpg
The app is very basic, but could easily be extended to support additional arguments such as tile size, or to export images in formats other than JPEG. The result of running it is a sequence of 64 new images, named as follows:
这个程序相当基础,但是能够轻易地扩展支持额外的参数比如小图大小,或者导出格式等等。运行结果是64个新图的序列,如下面命名:
Snowman_00_00.jpg
Snowman_00_01.jpg
Snowman_00_02.jpg
...
Snowman_07_07.jpg
既然我们有了裁切后的小图,我们就要让iOS程序用到他们。CATiledLayer很好地和UIScrollView集成在一起。除了设置图层和滑动视图边界以适配整个图片大小,我们真正要做的就是实现-drawLayer:inContext:方法,当需要载入新的小图时,CATiledLayer就会调用到这个方法。
清单6.12演示了代码。图6.12是代码运行结果。
清单6.12 一个简单的滚动CATiledLayer实现
#import "ViewController.h"
#import

@interface ViewController ()

@property (nonatomic, weak) IBOutlet UIScrollView *scrollView;

@end

@implementation ViewController

- (void)viewDidLoad
{
    [super viewDidLoad];
    //add the tiled layer
    CATiledLayer *tileLayer = [CATiledLayer layer];
    tileLayer.frame = CGRectMake(0, 0, 2048, 2048);
    tileLayer.delegate = self; [self.scrollView.layer addSublayer:tileLayer];

    //configure the scroll view
    self.scrollView.contentSize = tileLayer.frame.size;

    //draw layer
    [tileLayer setNeedsDisplay];
}

- (void)drawLayer:(CATiledLayer *)layer inContext:(CGContextRef)ctx
{
    //determine tile coordinate
    CGRect bounds = CGContextGetClipBoundingBox(ctx);
    NSInteger x = floor(bounds.origin.x / layer.tileSize.width);
    NSInteger y = floor(bounds.origin.y / layer.tileSize.height);

    //load tile image
    NSString *imageName = [NSString stringWithFormat: @"Snowman_%02i_%02i", x, y];
    NSString *imagePath = [[NSBundle mainBundle] pathForResource:imageName ofType:@"jpg"];
    UIImage *tileImage = [UIImage imageWithContentsOfFile:imagePath];

    //draw tile
    UIGraphicsPushContext(ctx);
    [tileImage drawInRect:bounds];
    UIGraphicsPopContext();
}
@end
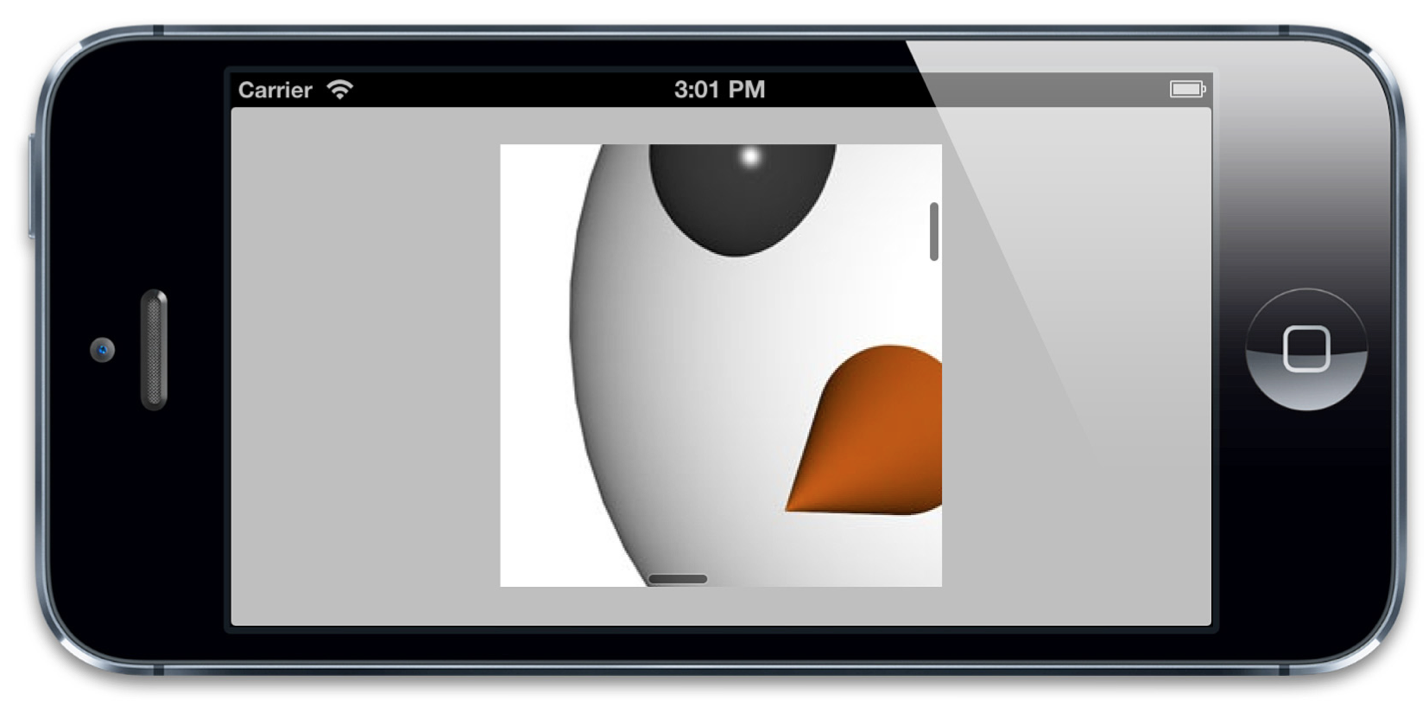
图6.12 用UIScrollView滚动CATiledLayer
当你滑动这个图片,你会发现当CATiledLayer载入小图的时候,他们会淡入到界面中。这是CATiledLayer的默认行为。(你可能已经在iOS 6之前的苹果地图程序中见过这个效果)你可以用fadeDuration属性改变淡入时长或直接禁用掉。CATiledLayer(不同于大部分的UIKit和Core Animation方法)支持多线程绘制,-drawLayer:inContext:方法可以在多个线程中同时地并发调用,所以请小心谨慎地确保你在这个方法中实现的绘制代码是线程安全的。
Retina小图
你也许已经注意到了这些小图并不是以Retina的分辨率显示的。为了以屏幕的原生分辨率来渲染CATiledLayer,我们需要设置图层的contentsScale来匹配UIScreen的scale属性:
tileLayer.contentsScale = [UIScreen mainScreen].scale;
有趣的是,tileSize是以像素为单位,而不是点,所以增大了contentsScale就自动有了默认的小图尺寸(现在它是128128的点而不是256256).所以,我们不需要手工更新小图的尺寸或是在Retina分辨率下指定一个不同的小图。我们需要做的是适应小图渲染代码以对应安排scale的变化,然而:
//determine tile coordinate
CGRect bounds = CGContextGetClipBoundingBox(ctx);
CGFloat scale = [UIScreen mainScreen].scale;
NSInteger x = floor(bounds.origin.x / layer.tileSize.width * scale);
NSInteger y = floor(bounds.origin.y / layer.tileSize.height * scale);
通过这个方法纠正scale也意味着我们的雪人图将以一半的大小渲染在Retina设备上(总尺寸是10241024,而不是20482048)。这个通常都不会影响到用CATiledLayer正常显示的图片类型(比如照片和地图,他们在设计上就是要支持放大缩小,能够在不同的缩放条件下显示),但是也需要在心里明白。