

新建一个 SearchPage.js 文件,保存在 index.ios.js同一目录。在这个文件中加入代码:
"use strict";

var React = require("react-native");
var {
  StyleSheet,
  Text,
  TextInput,
  View,
  TouchableHighlight,
  ActivityIndicatorIOS,
  Image,
  Component
} = React;
这里使用了一个解构赋值(destructuring assignment),可以将多个对象属性一次性赋给多个变量。这样,在后面的代码中,我们就可以省略掉React前缀,比如用StyleSheet 来代替 React.StyleSheet。解构赋值对于数组操作来说尤其方便,请参考well worth learning more about.
然后定义如下Css样式:
var styles = StyleSheet.create({
description: {
marginBottom: 20,
fontSize: 18,
textAlign: ‘center’,
color: ‘#656565′
},
container: {
padding: 30,
marginTop: 65,
alignItems: ‘center’
}
});
这里,再次使用了标准的 CSS 属性。虽然用CSS设置样式在可视化方面比起在IB中要差一些,但总比在viewDidLoad()方法中用代码写要好一些。
然后加入以下代码:
class SearchPage extends Component {
  render() {
    return (
      <View style={styles.container}>
        <Text style={styles.description}>
          Search for houses to buy!
        </Text>
        <Text style={styles.description}>
          Search by place-name, postcode or search near your location.
        </Text>
      </View>
    );
  }
}
在render方法中使用了大量的JSX语法来构造UI组件。通过这种方式,你可以非常容易地构造出如下组件:在一个Container View中包含了两个label。
在源文件的最后加入这一句:
module.exports = SearchPage;
这一句将使 SearchPage 类可被其他js文件引用。
然后需要修改App的导航。
打开 index.ios.js 在文件头部、现有的require 语句后加入 require 语句:
var SearchPage = require("./SearchPage");
在 PropertyFinderApp 类的 render 函数中,修改 initialRoute 为:
component: SearchPage
这里我们可以将HelloWorld类和它对应的样式移除了,我们不再需要它。
回到模拟器,按下 Cmd+R 查看效果:
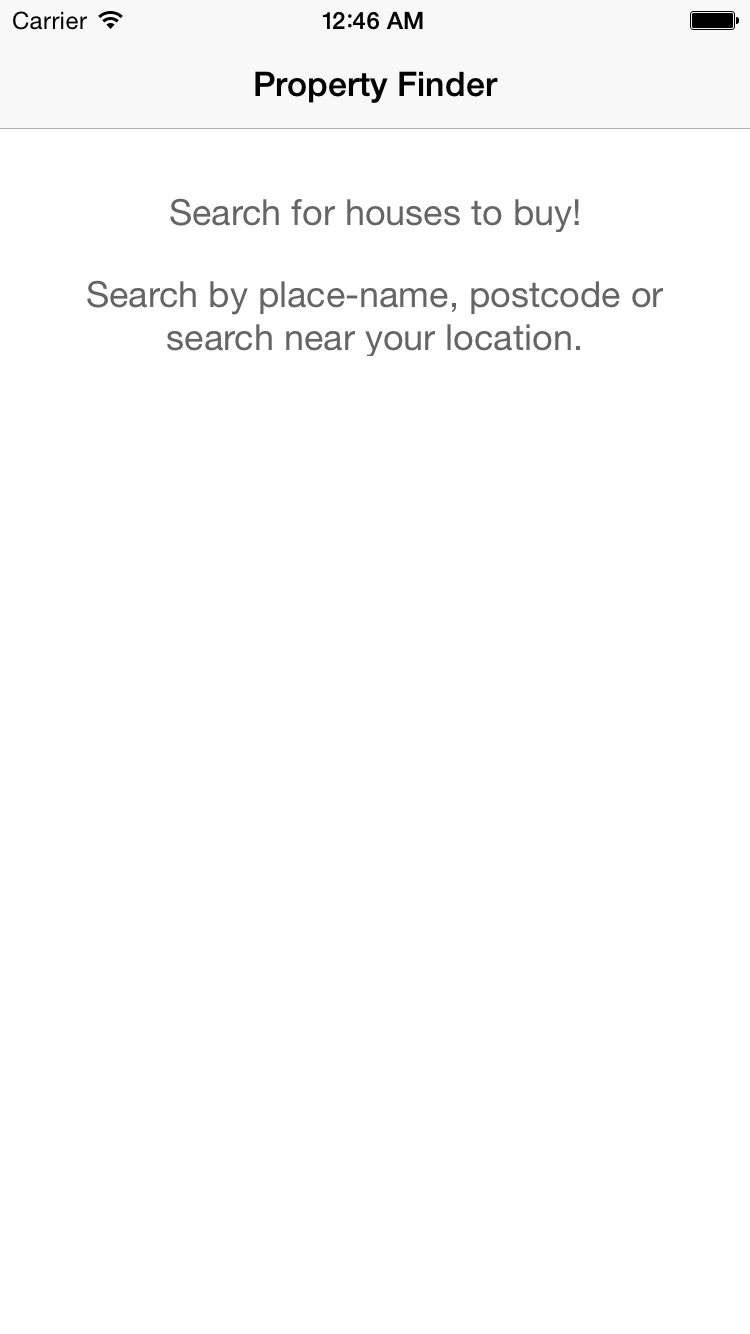
你新创建的组件SearchPage显示在屏幕中。