

现在,React Native的代码对我们来说已经不陌生了,接下来我们的教程可以稍微加快一点节奏了。
在 SearchResults.js文件的解构赋值语句之后,添加样式定义:
var styles = StyleSheet.create({
  thumb: {
    width: 80,
    height: 80,
    marginRight: 10
  },
  textContainer: {
    flex: 1
  },
  separator: {
    height: 1,
    backgroundColor: "#dddddd"
  },
  price: {
    fontSize: 25,
    fontWeight: "bold",
    color: "#48BBEC"
  },
  title: {
    fontSize: 20,
    color: "#656565"
  },
  rowContainer: {
    flexDirection: "row",
    padding: 10
  }
});
这些代码中的样式将在渲染单元格时用到。
修改renderRow() 方法如下:
renderRow(rowData, sectionID, rowID) {
  var price = rowData.price_formatted.split(" ")[0];

  return (
    <TouchableHighlight onPress={() => this.rowPressed(rowData.guid)}
        underlayColor="#dddddd">
      <View>
        <View style={styles.rowContainer}>
          <Image style={styles.thumb} source={{ uri: rowData.img_url }} />
          <View  style={styles.textContainer}>
            <Text style={styles.price}>£{price}</Text>
            <Text style={styles.title}
                  numberOfLines={1}>{rowData.title}</Text>
          </View>
        </View>
        <View style={styles.separator}/>
      </View>
    </TouchableHighlight>
  );
}
其中价格将以‘300,000 GBP’的格式显示,记得将GBP 后缀删除。上述代码用你已经很熟悉的方式来渲染单元格UI。缩略图以URL方式提供,React Native 自动将其解码(主线程中)。
在TouchableHightlight组件的onPress属性中再次使用了箭头函数,并将该行数据的guid作为传递的参数。
最后一个方法,用于处理点击事件
rowPressed(propertyGuid) {
  var property = this.props.listings.filter(prop => prop.guid === propertyGuid)[0];
}
这里,当用户点击某行时,通过guid去房产列表中找到对应的房屋信息。
回到模拟器,按下 Cmd+R ,观察运行结果:
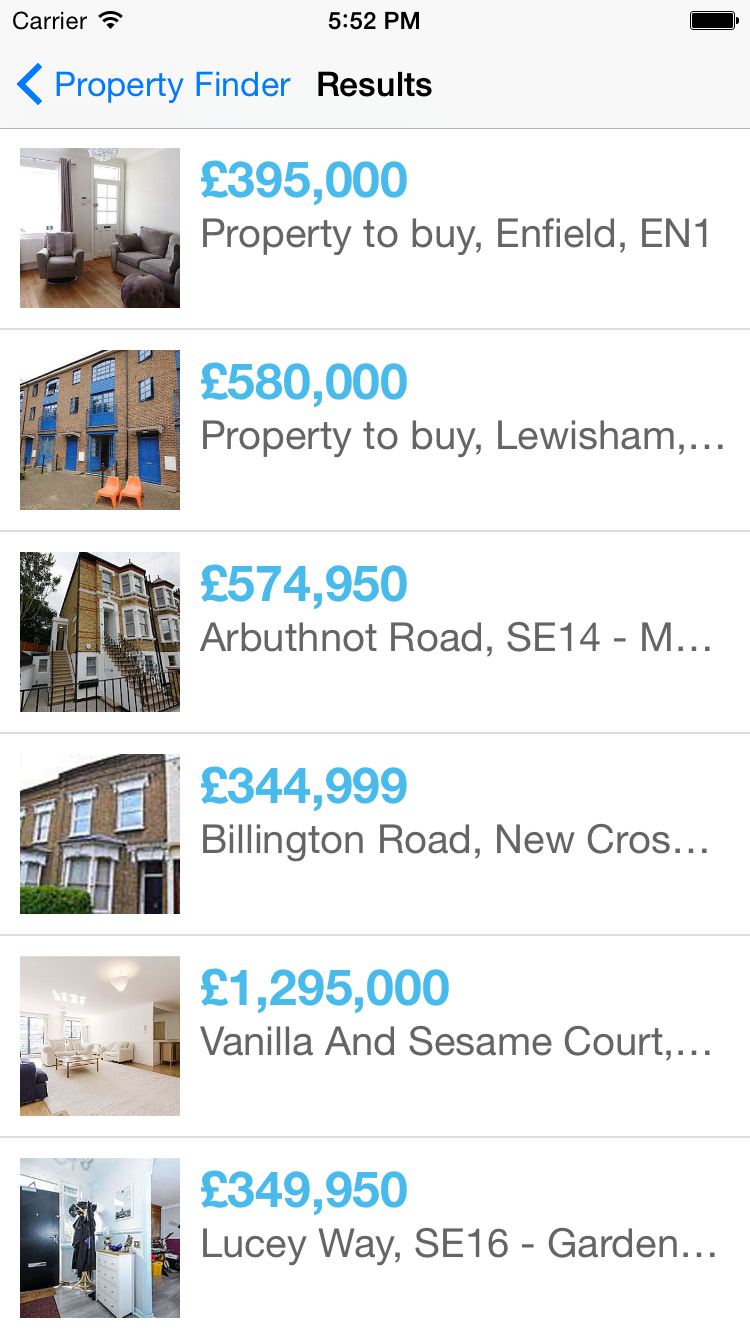
这下看起来好多了——只不过,那些住在London的人居然住得起这么贵房子?真是令人难以置信!
接下来,我们就来实现App的最后一个界面了。