转载请说明出处: http://blog.csdn.net/lyhhj/article/details/49046109
前阵子写过一片博客,是关于选择多图上传的一个小demo,那个demo是从网上找的然后自己修改了一下,那个demo是仿照QQ的选择照片的形式,那么现在用的比较多的是仿照微信选择照片的形式,所以自己就鼓捣了一个高仿微信照片选择的demo,这里跟大家分享一下,建议大家再看这篇博客之前先看一下我之间的选择多图的那篇博客,那里面的代码讲的比较详细,这篇是在那篇基础之上的:
说明一下,这篇博客中的相册选择是参照鸿扬大神的demo写的。
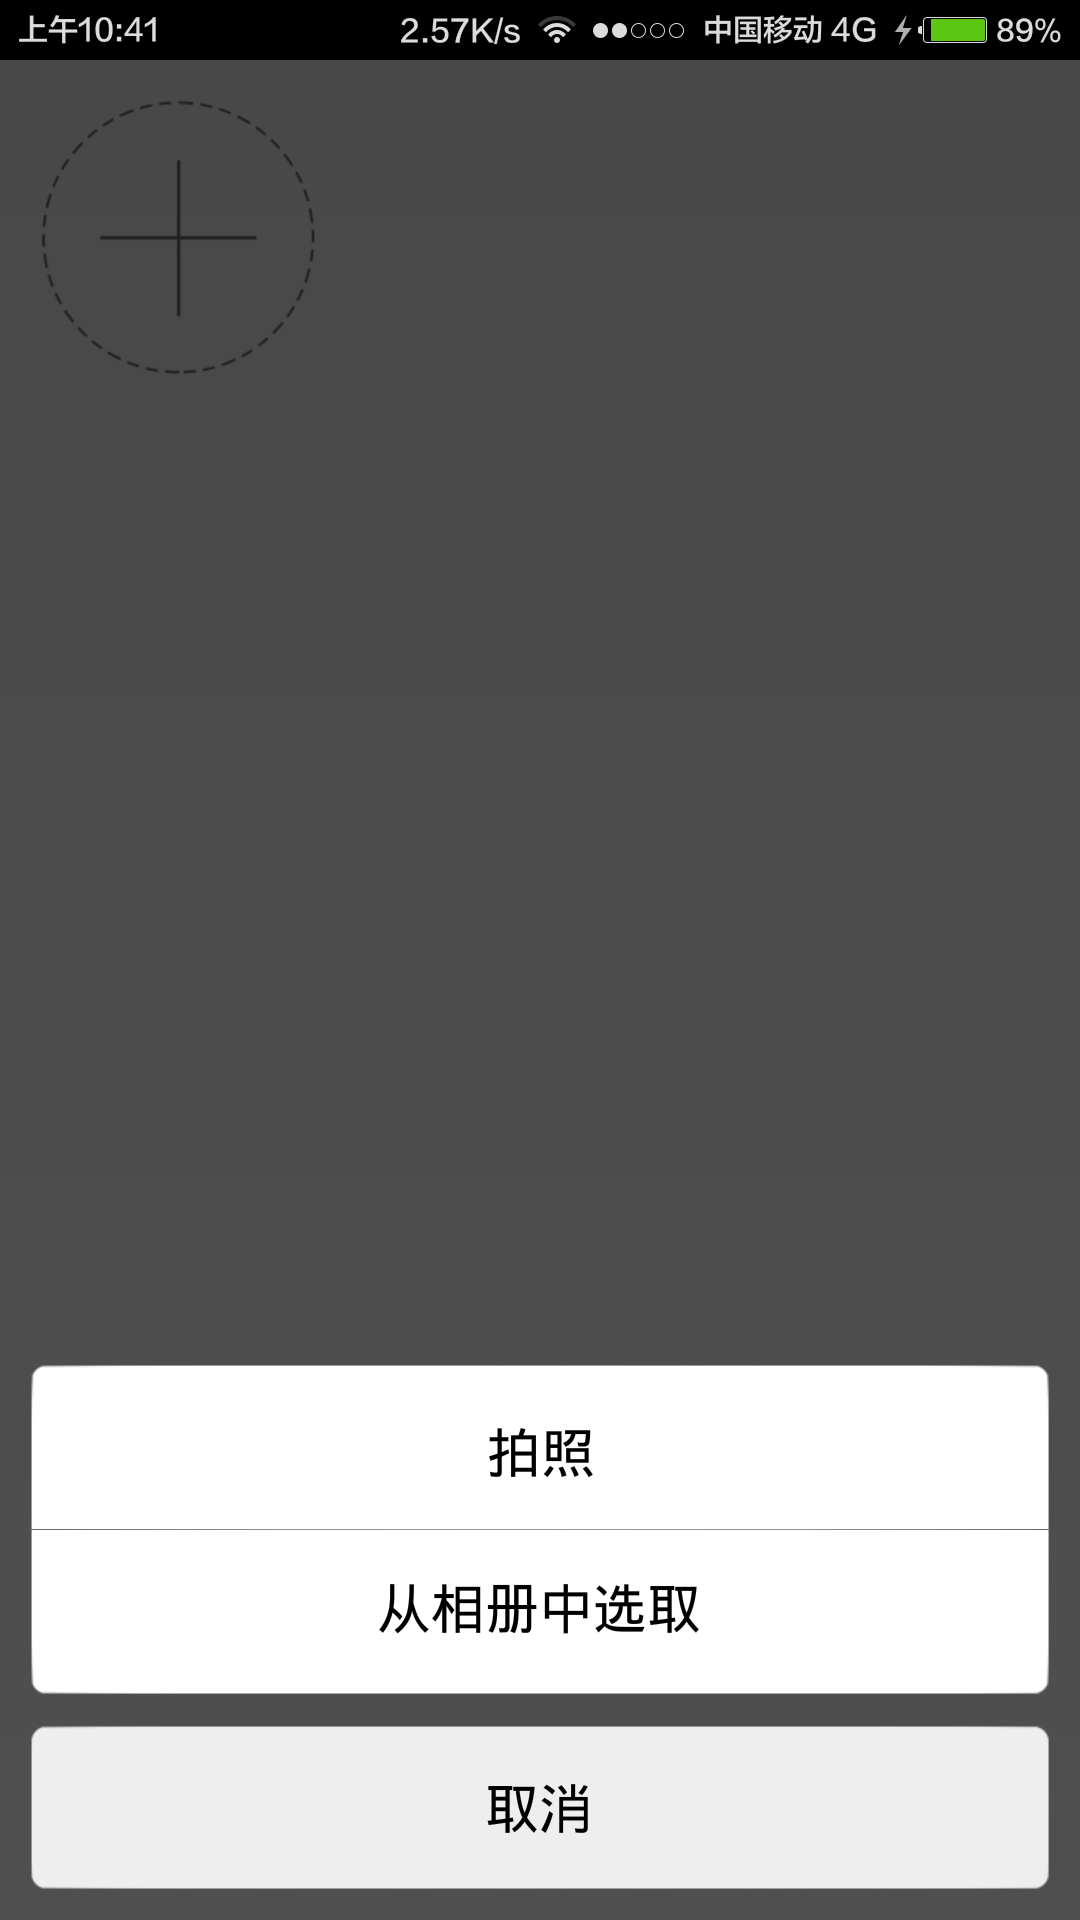
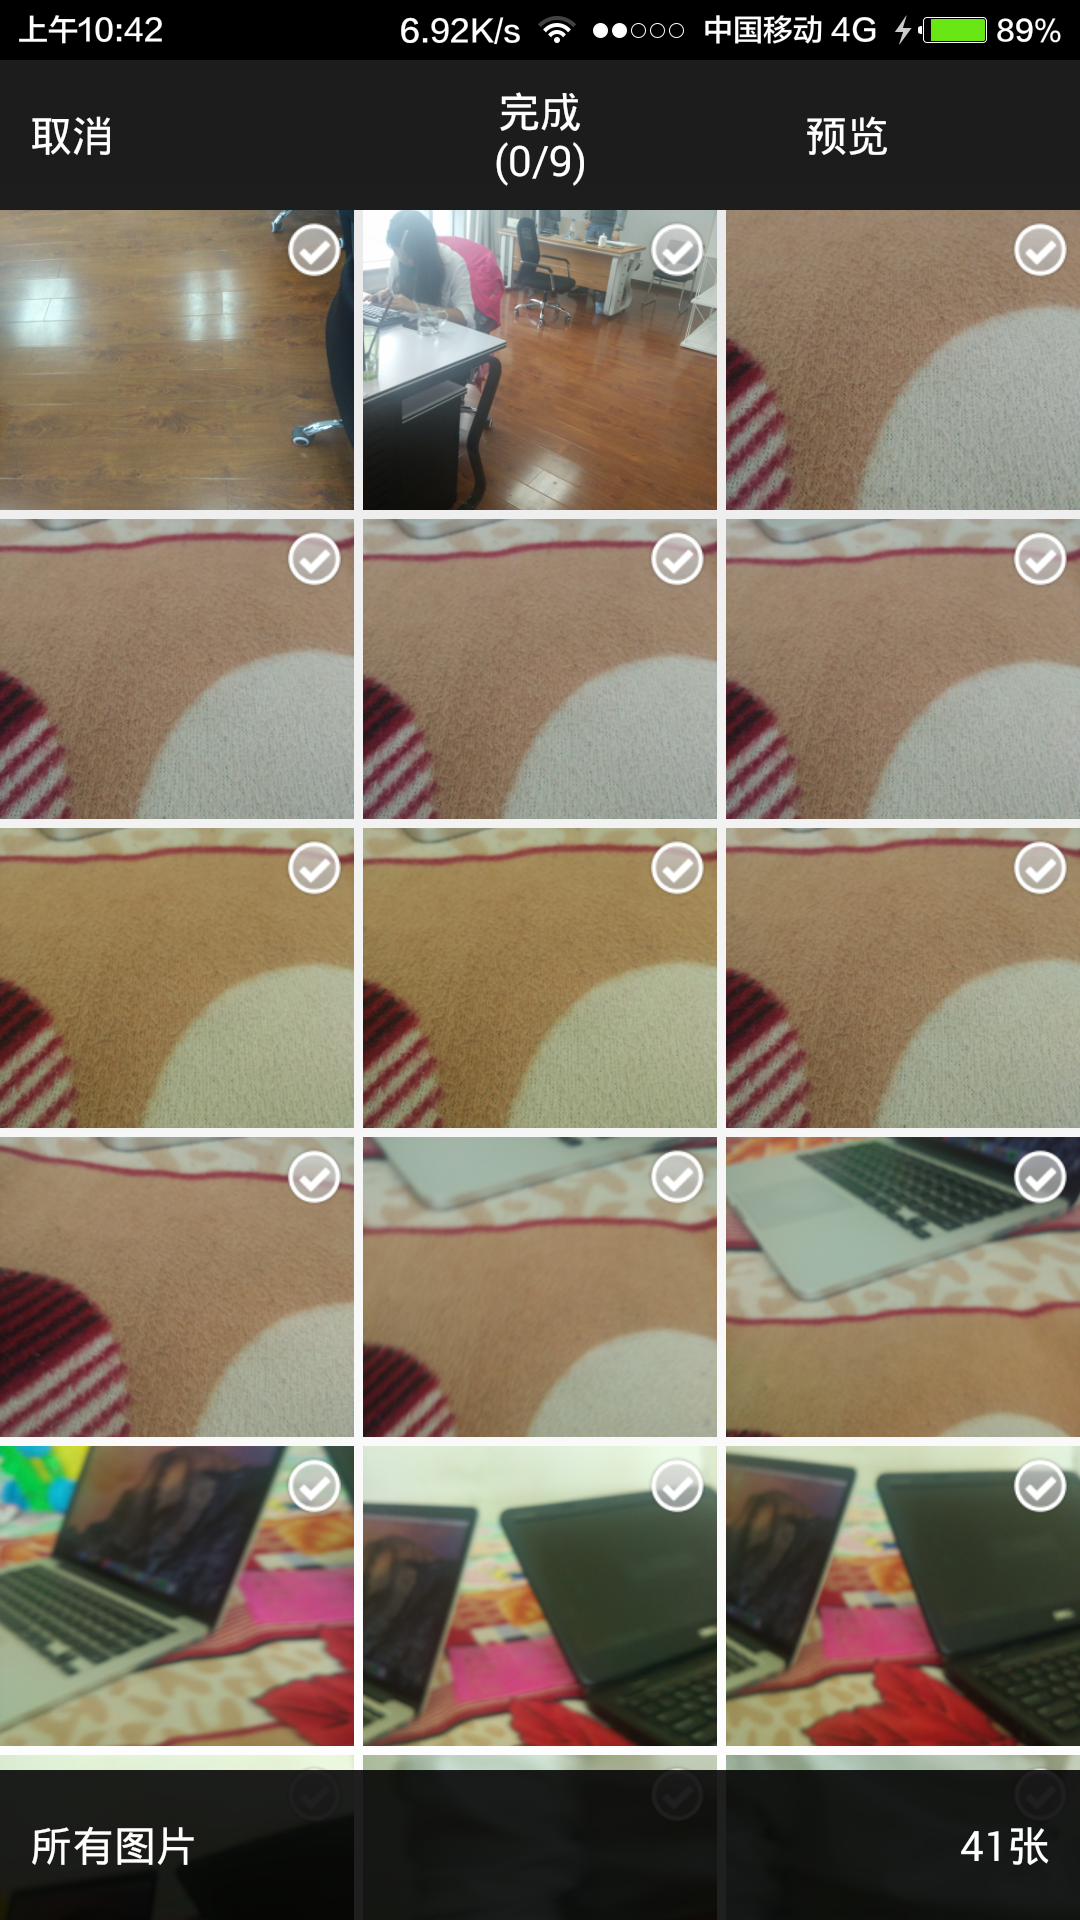
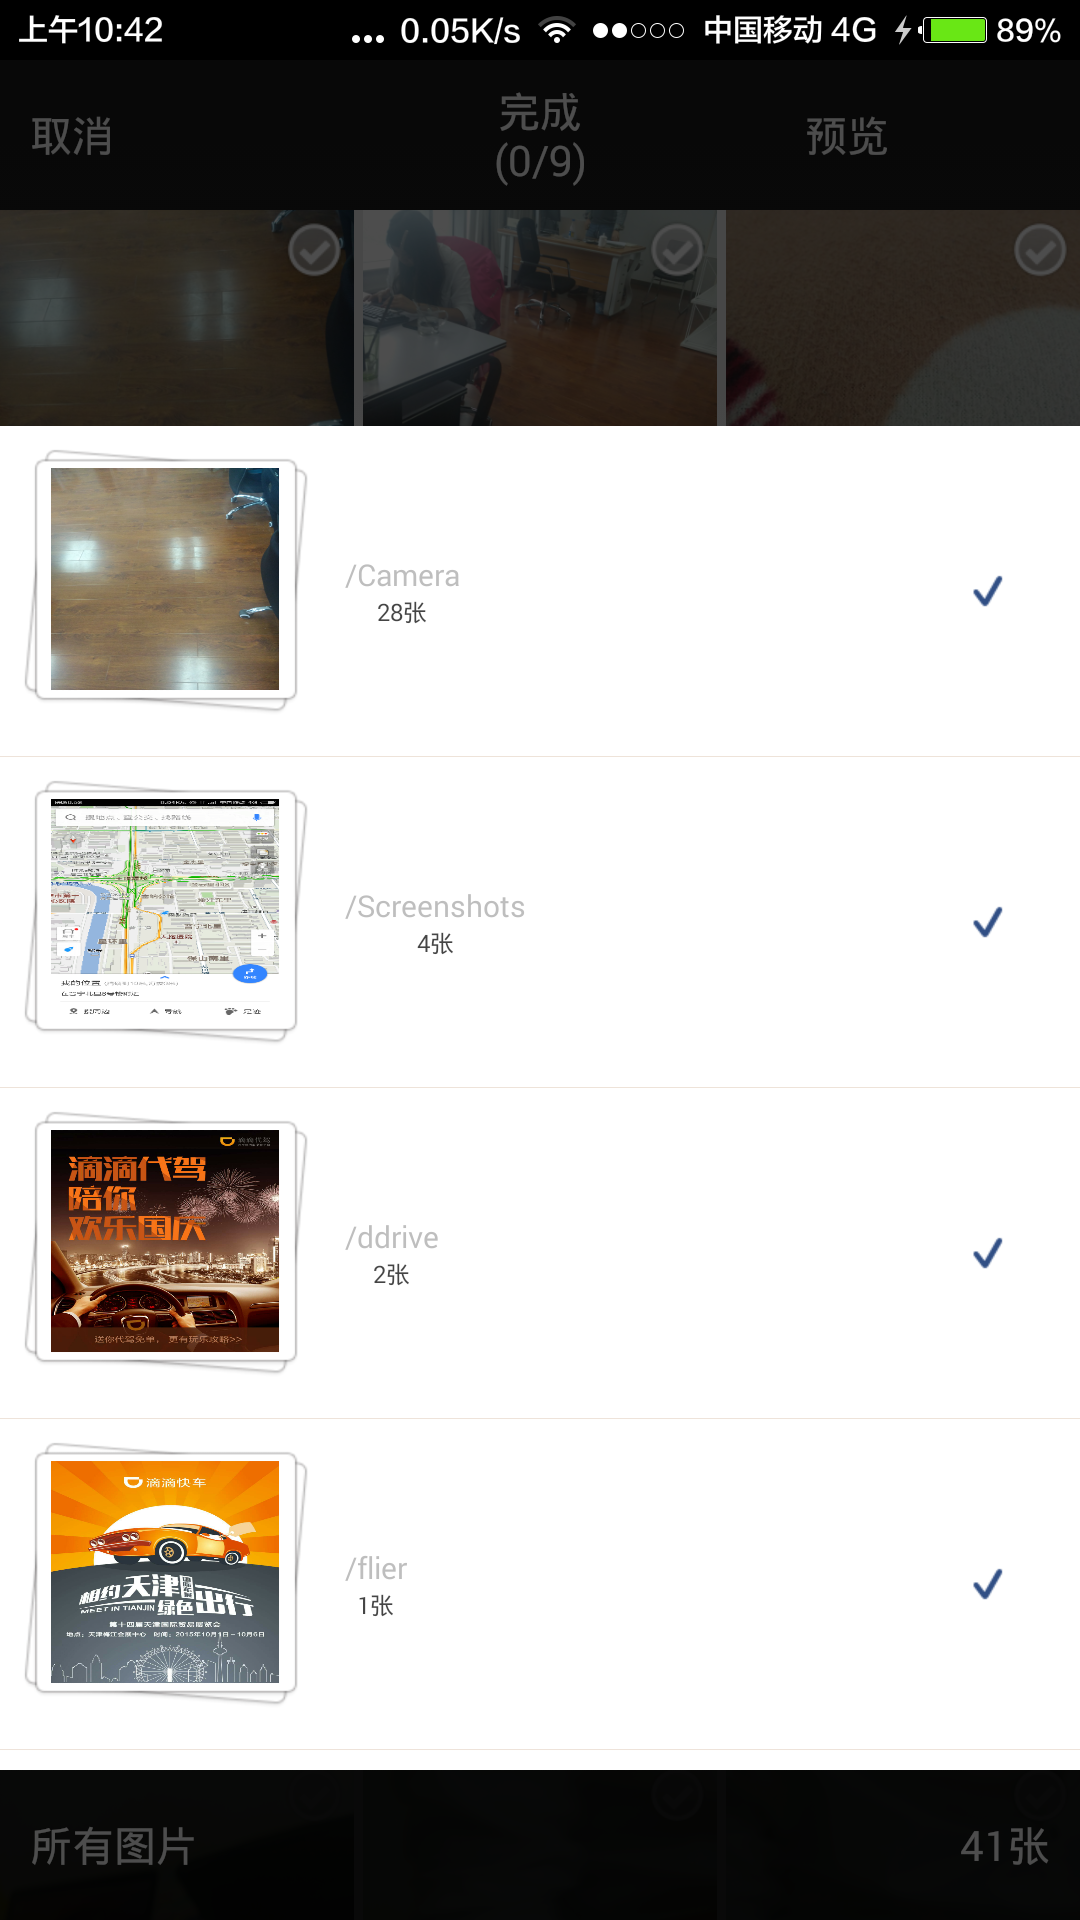
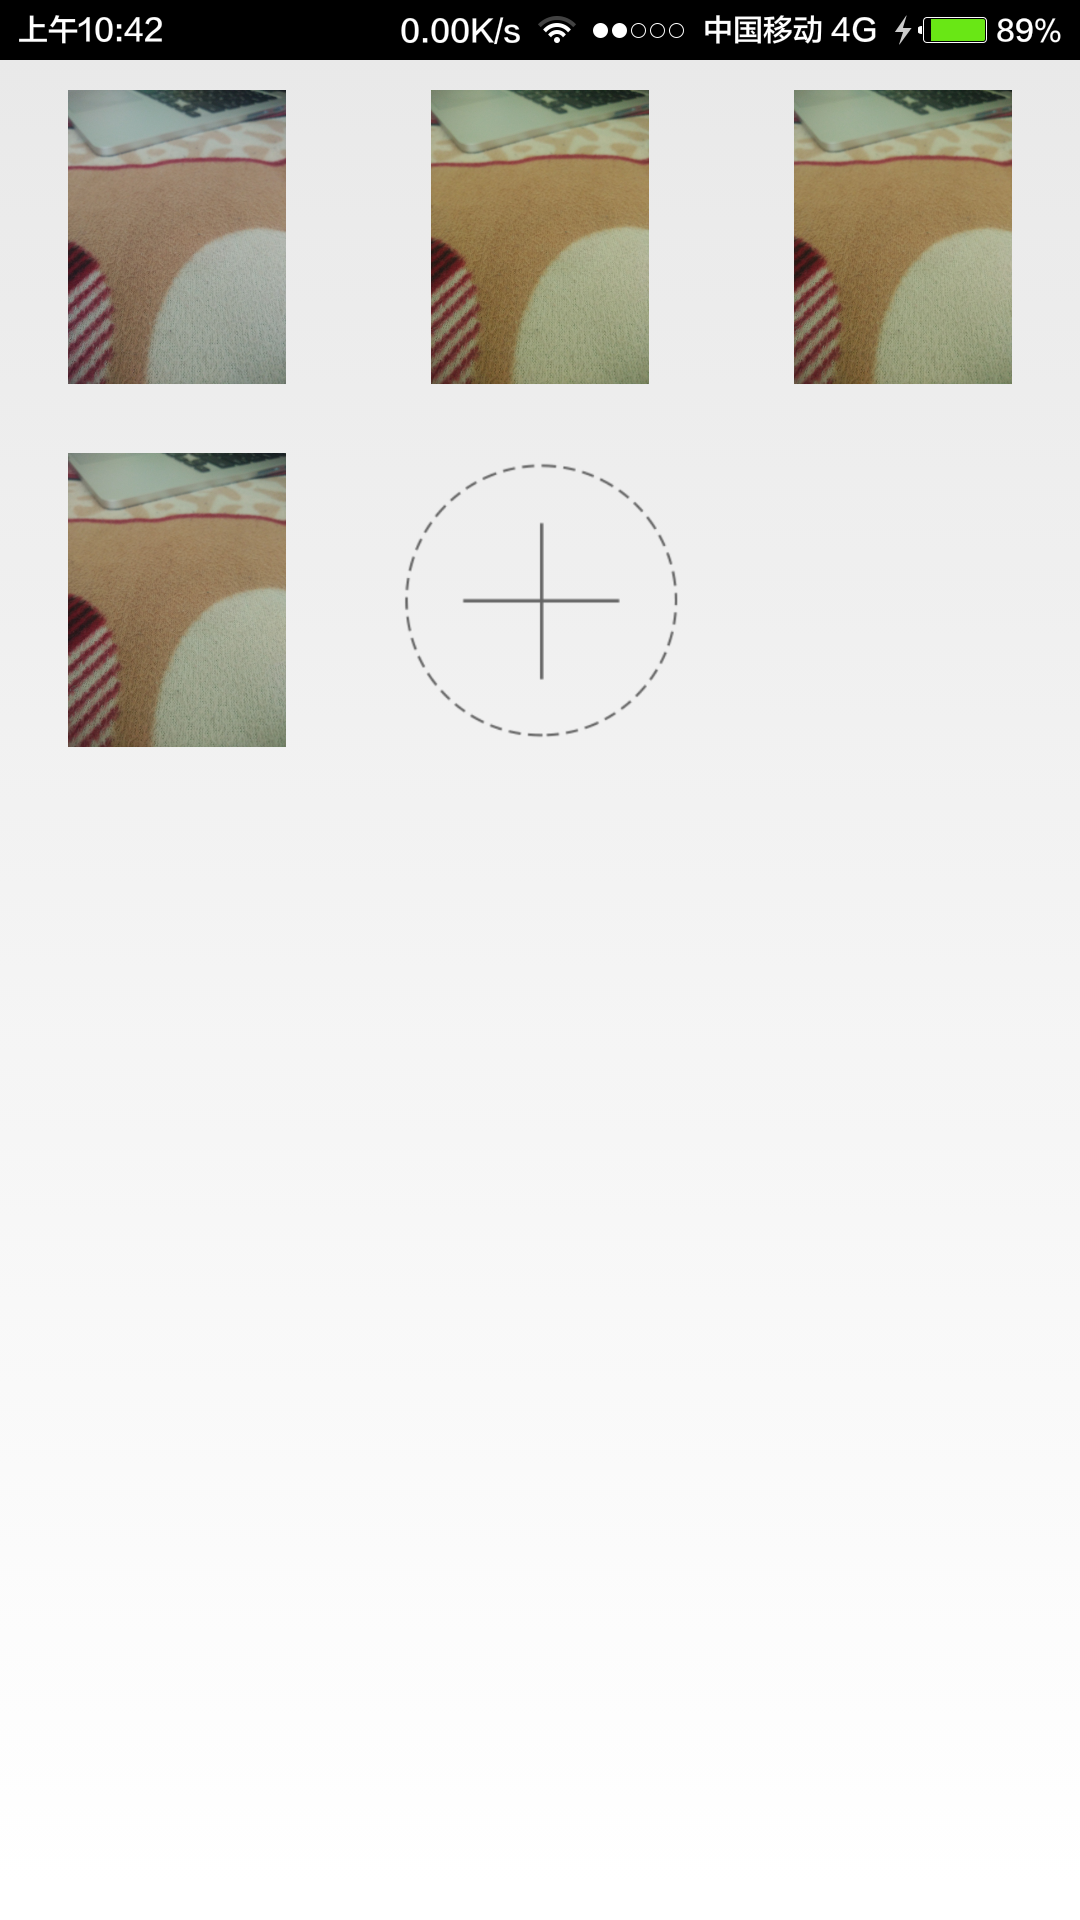
好了下面进入正题,我们先看一下实现效果吧:
下面来介绍一下代码:
之前的代码就不多说了,上面的那篇博客里面有,说一下鸿扬大神的代码吧
基本思路就是:
1.先到手机中扫描jpeg和png的图片
2.获取导图片的路径和图片的父路径名也就是文件夹名
3.将图片路径和文件夹名分别添加导数据源中
4.数据源有了就是显示了,文件夹显示是利用的popwindow,而图片显示则是GridView
看一下具体代码:
首先开启一个线程去扫描图片
/**
     * 利用ContentProvider扫描手机中的图片,此方法在运行在子线程中 完成图片的扫描,最终获得jpg最多的那个文件夹
     */
    private void getImages()
    {
        if (!Environment.getExternalStorageState().equals(
                Environment.MEDIA_MOUNTED))
        {
            Toast.makeText(this, "暂无外部存储", Toast.LENGTH_SHORT).show();
            return;
        }
        // 显示进度条
        mProgressDialog = ProgressDialog.show(this, null, "正在加载...");

        new Thread(new Runnable()
        {
            @Override
            public void run()
            {

                String firstImage = null;

                Uri mImageUri = MediaStore.Images.Media.EXTERNAL_CONTENT_URI;
                ContentResolver mContentResolver = AlbumActivity.this
                        .getContentResolver();

                // 只查询jpeg和png的图片
                Cursor mCursor = mContentResolver.query(mImageUri, null,
                        MediaStore.Images.Media.MIME_TYPE + "=? or "
                                + MediaStore.Images.Media.MIME_TYPE + "=?",
                        new String[] { "image/jpeg", "image/png" },
                        MediaStore.Images.Media.DATE_MODIFIED);

                Log.e("TAG", mCursor.getCount() + "");
                while (mCursor.moveToNext())
                {
                    // 获取图片的路径
                    String path = mCursor.getString(mCursor
                            .getColumnIndex(MediaStore.Images.Media.DATA));

                    Log.e("TAG", path);
                    // 拿到第一张图片的路径
                    if (firstImage == null)
                        firstImage = path;
                    // 获取该图片的父路径名
                    File parentFile = new File(path).getParentFile();
                    if (parentFile == null)
                        continue;
                    String dirPath = parentFile.getAbsolutePath();
                    ImageFloder imageFloder = null;
                    // 利用一个HashSet防止多次扫描同一个文件夹(不加这个判断,图片多起来还是相当恐怖的~~)
                    if (mDirPaths.contains(dirPath))
                    {
                        continue;
                    } else
                    {
                        mDirPaths.add(dirPath);
                        // 初始化imageFloder
                        imageFloder = new ImageFloder();
                        imageFloder.setDir(dirPath);
                        imageFloder.setFirstImagePath(path);
                    }

                    int picSize = parentFile.list(new FilenameFilter()
                    {
                        @Override
                        public boolean accept(File dir, String filename)
                        {
                            if (filename.endsWith(".jpg")
                                    || filename.endsWith(".png")
                                    || filename.endsWith(".jpeg"))
                                return true;
                            return false;
                        }
                    }).length;
                    totalCount += picSize;

                    imageFloder.setCount(picSize);
                    mImageFloders.add(imageFloder);

                    if (picSize > mPicsSize)
                    {
                        mPicsSize = picSize;
                        mImgDir = parentFile;
                    }
                }
                mCursor.close();

                // 扫描完成,辅助的HashSet也就可以释放内存了
                mDirPaths = null;

                // 通知Handler扫描图片完成
                mHandler.sendEmptyMessage(0x110);

            }
        }).start();

    }
代码很详细不多说
文件夹popwindow弹出事件
private void initEvent()
    {
        /**
         * 为底部的布局设置点击事件,弹出popupWindow
         */
        mBottomLy.setOnClickListener(new View.OnClickListener()
        {
            @Override
            public void onClick(View v)
            {
                mListImageDirPopupWindow
                        .setAnimationStyle(R.style.anim_popup_dir);
                mListImageDirPopupWindow.showAsDropDown(mBottomLy, 0, 0);

                // 设置背景颜色变暗
                WindowManager.LayoutParams lp = getWindow().getAttributes();
                lp.alpha = .3f;
                getWindow().setAttributes(lp);
            }
        });
    }
最后是设置图片的点击事件
//设置ImageView的点击事件
		mImageView.setOnClickListener(new OnClickListener()
		{
			//选择,则将图片变暗,反之则反之
			@Override
			public void onClick(View v)
			{

				// 已经选择过该图片
				if (mSelectedImage.contains(mDirPath + "/" + item))
				{
					mSelectedImage.remove(mDirPath + "/" + item);
					mSelect.setImageResource(R.drawable.picture_unselected);
					mImageView.setColorFilter(null);
					List<ImageBean> delete = new ArrayList<ImageBean>();
					for (ImageBean im:Bimp.tempSelectBitmap){
						if (im.getPath().equals(mDirPath + "/" + item)){
							delete.add(im);
						}
					}
					Bimp.tempSelectBitmap.removeAll(delete);
					Message msg = new Message();
					msg.what=0;
					AlbumActivity.handler.sendMessage(msg);
				} else
				// 未选择该图片
				{
					if (Bimp.tempSelectBitmap.size()>8){
						Toast.makeText(context,"超出可选图片数",Toast.LENGTH_SHORT).show();
						return;
					}
					else {
						mSelectedImage.add(mDirPath + "/" + item);
						mSelect.setImageResource(R.drawable.pictures_selected);
						mImageView.setColorFilter(Color.parseColor("#77000000"));
						ImageBean imageBean = new ImageBean();
						imageBean.setPath(mDirPath + "/" + item);
						try {
							imageBean.setBitmap(Bimp.revitionImageSize(mDirPath + "/" + item));
						} catch (IOException e) {
							e.printStackTrace();
						}
						Bimp.tempSelectBitmap.add(imageBean);
						Message msg = new Message();
						msg.what=0;
						AlbumActivity.handler.sendMessage(msg);
					}

				}

			}
这里面为了配合之前的博客,我加入了选中图片和取消选中图片将图片在Bimp.tempSelectBitmap中删除和添加的操作,更新选择图片的数量,也就是下面这两段代码:
List<ImageBean> delete = new ArrayList<ImageBean>();
					for (ImageBean im:Bimp.tempSelectBitmap){
						if (im.getPath().equals(mDirPath + "/" + item)){
							delete.add(im);
						}
					}
					Bimp.tempSelectBitmap.removeAll(delete);
					Message msg = new Message();
					msg.what=0;
					AlbumActivity.handler.sendMessage(msg);
ImageBean imageBean = new ImageBean();
						imageBean.setPath(mDirPath + "/" + item);
						try {
							imageBean.setBitmap(Bimp.revitionImageSize(mDirPath + "/" + item));
						} catch (IOException e) {
							e.printStackTrace();
						}
						Bimp.tempSelectBitmap.add(imageBean);
						Message msg = new Message();
						msg.what=0;
						AlbumActivity.handler.sendMessage(msg);
这里有一点说明,就是我在写移除图片的时候遇到了一个错误,Java ConcurrentModificationException异常,这个错误就是说当我们的Vector,List或者ArrayList中的数据源发生变化的时候,你再去操作这个list就会出现这个异常错误,解决办法是,遍历这个图片数组,比较路径是否相同(最好的办法是比较id是否相同),new 一个数组将相同的图片假如new的数组中,最后用之前的图片数组removeAll来移除,这样就不会报异常错误了,当然我们new的数组肯定比我们之前的数组数据源少或者等同。
好了代码实现就是这些了,至于源码我整理完毕后就会传上来的,想要的小伙伴可以私聊我。
这里还要非常感谢鸿扬大神写了那么多好的博客,让我们学习,这里有不完善的地方还请小伙伴们多多包涵,多多指正。
代码已经同步到我的Github上,小伙伴们关注一下