1гҖҒеј•е…Ҙ
2гҖҒйңҖиҰҒеҲ°и…ҫи®ҜејҖж”ҫе№іеҸ° http://open.qq.com/ --жӯӨеӨ„йңҖиҰҒQQзҷ»еҪ•е°Ҹзј–е°ұдёҚиҜҰз»Ҷд»Ӣз»ҚдәҶ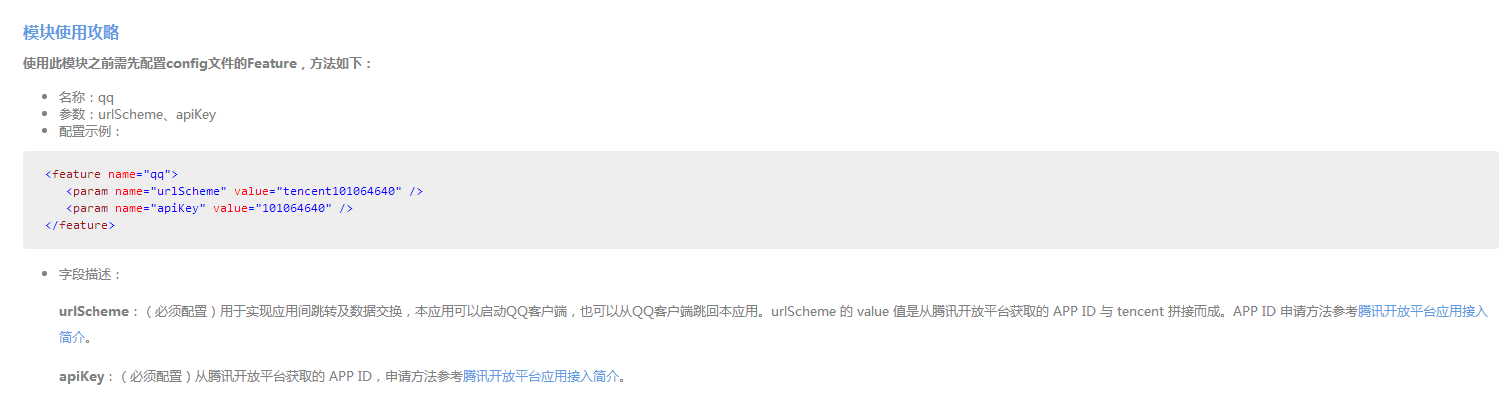
еӨ§е®¶еҸӘйңҖиҰҒжӢҝеҲ°APP IDеҚіеҸҜ еү©дёӢзҡ„жіЁеҶҢиҝҮзЁӢеҸҜд»ҘзңҒз•Ҙ
3гҖҒдҪҝз”Ёloginж–№жі•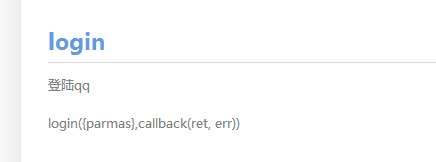
4гҖҒдҪҝз”ЁgetUserInfoж–№жі•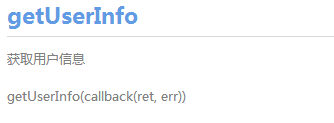
е°Ҹзј–жӯӨеӨ„йҷ„дёҠд»Јз ҒпјҢеӨ§е®¶еҸӮиҖғQQзҷ»еҪ•йғЁеҲҶеҚіеҸҜпјҢе…¶д»–еӨ„зҗҶйҖ»иҫ‘еҸҜд»ҘеҝҪз•ҘгҖӮ
htmlйғЁеҲҶ
<div class="aui-col-xs-3"  style="text-align: center;" tapmode onclick="QQauth()">
	<i class="iconfont icon-qq icon_bg1"></i>
	<div class="aui-grid-label" style="display:block;margin-top:10px;">QQ</div>
</div>
jsйғЁеҲҶ
//QQзҷ»еҪ•
function QQauth () {
api.showProgress({
style: "default",
animationType: "fade",
title: "",
text: "еҗҜеҠЁдёӯ...",
modal: false
});
var qq = api.require("qq");
qq.login(function(ret, err) {
var openId=ret.openId,
accessToken=ret.accessToken;
$api.setStorage("QqOpenId", openId);
//иҺ·еҸ–QQз”ЁжҲ·дҝЎжҒҜ
api.hideProgress();
qq.getUserInfo(function(ret, err) {
if (ret.status) {
//жҳөз§° еӨҙеғҸ
var nickname=ret.info.nickname,
head_pic=ret.info.figureurl_qq_2,
openid = $api.getStorage("QqOpenId");
source="QQ";
//е°ҶQQз”ЁжҲ·дҝЎжҒҜж·»еҠ е…Ҙдёүж–№иЎЁ
api.ajax({
url: domainName + "/index.php?g=User&m=Api&a=thirdLogin",
method: "post",
data: {
values: {
openid: openId,
nickname: nickname,
head_pic: head_pic,
source: source
}
}
}, function(ret, err) {
if (ret.msg == "0") { //е·Із»ҸеӯҳеңЁиҜҘз”ЁжҲ·дҝЎжҒҜ
if (ret.binding_status == "1") { /*1:жңӘз»‘е®ҡ 2е·Із»‘е®ҡ*/
//жңӘз»‘е®ҡ,еҲ°з»‘е®ҡйЎөйқў
api.openWin({
name: "user_binding_win",
url: "./user_binding_win.html",
pageParam: {
openid: openid,
source: source
}
});
} else {
//е·Із»‘е®ҡ,еҲ°йҰ–йЎөйЎөйқў
userInfoAll(openid,source);
api.openWin({
name: "index",
url: "../main.html"
});
}
} else if (ret.msg == "1"){ //ж·»еҠ з”ЁжҲ·дҝЎжҒҜжҲҗеҠҹ
api.openWin({
name: "user_binding_win",
url: "./user_binding_win.html",
pageParam: {
openid: openid
}
});
} else if (ret.msg =="2"){
api.toast({
msg: "ж·»еҠ з”ЁжҲ·еӨұиҙҘ",
duration: 2000,
location: "bottom"
});
} else {
api.toast({
msg: "жңӘзҹҘй”ҷиҜҜ",
duration: 2000,
location: "bottom"
});
}
});
} else {
api.toast({
msg: err.msg,
duration: 2000,
location: "middle"
});
}
});
});
}